Make a paper daisy that looks like it grew.
A 1:1 printable pattern, a layered cut file and a four-minute filmed walkthrough — every cut, curl and glue-up at working speed. Print it, cut it, and have two daisies on the table in about an hour.
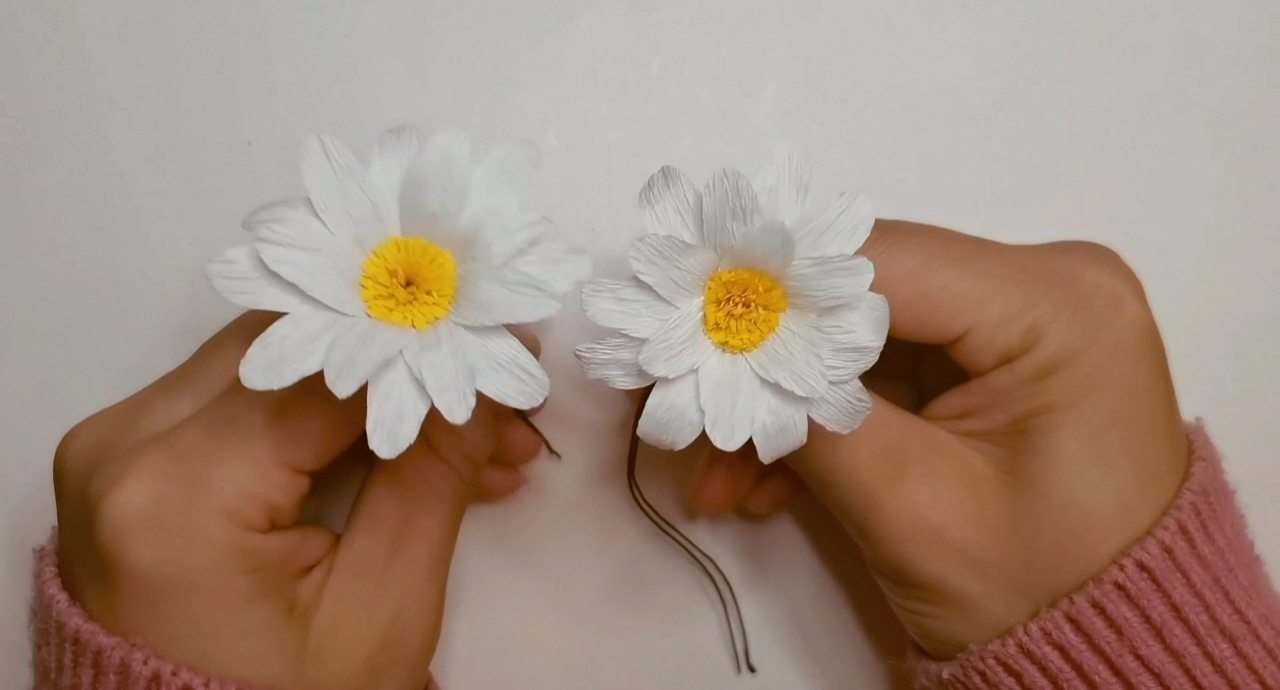
Everything you need, no guesswork
Everything is sized to print at 100%. No scaling, no "fit to page", no measuring against a ruler on screen.
Printable pattern
1:1 actual size on both A4 and US Letter. The petal, a size-guide circle for the centre, and two leaf shapes, with the wire line marked on each leaf.
Cut files
Two layers: the solid cut lines, plus a grey dashed guide showing where the leaf wire sits — set that one to ignore. Clean vectors, imported at true size.
Video walkthrough
4 minutes, filmed straight down over the work — cutting the fringe, shaping petals, gluing them around the centre, finishing the leaves. Streamed or downloaded.
Materials & assembly guide
Paper weight, wire gauge, tape and glue, the size of every piece, and what to do when your crepe is heavier or lighter than mine.
Measured, not estimated
Each piece prints at the size below. The printed circle is a size guide only — you don't cut it out. Finished bloom size depends on how much you cup and curl each petal.
| Shape | Size |
|---|---|
| Petal | 19 × 64 mm (¾ × 2½ in) |
| Centre circle (size guide, not cut) | Ø 27 mm (1⅛ in) |
| Centre strip (yellow, hand-cut) | 20 × 250 mm (¾ × 10 in) |
| Leaf A | 62 × 127 mm (2½ × 5 in) |
| Leaf B | 74 × 164 mm (2⅞ × 6½ in) |
One bloom uses 16 petals and one yellow centre strip; the pattern gives you 32 petals — enough for two flowers. The printed circle is a size guide for rolling the yellow centre, not a piece to cut. The centre strip is not on the pattern sheet: cut it from yellow crepe to the size above.
What you'll need
Nothing exotic. If you've made a paper flower before, you already own most of this.
| Item | Notes |
|---|---|
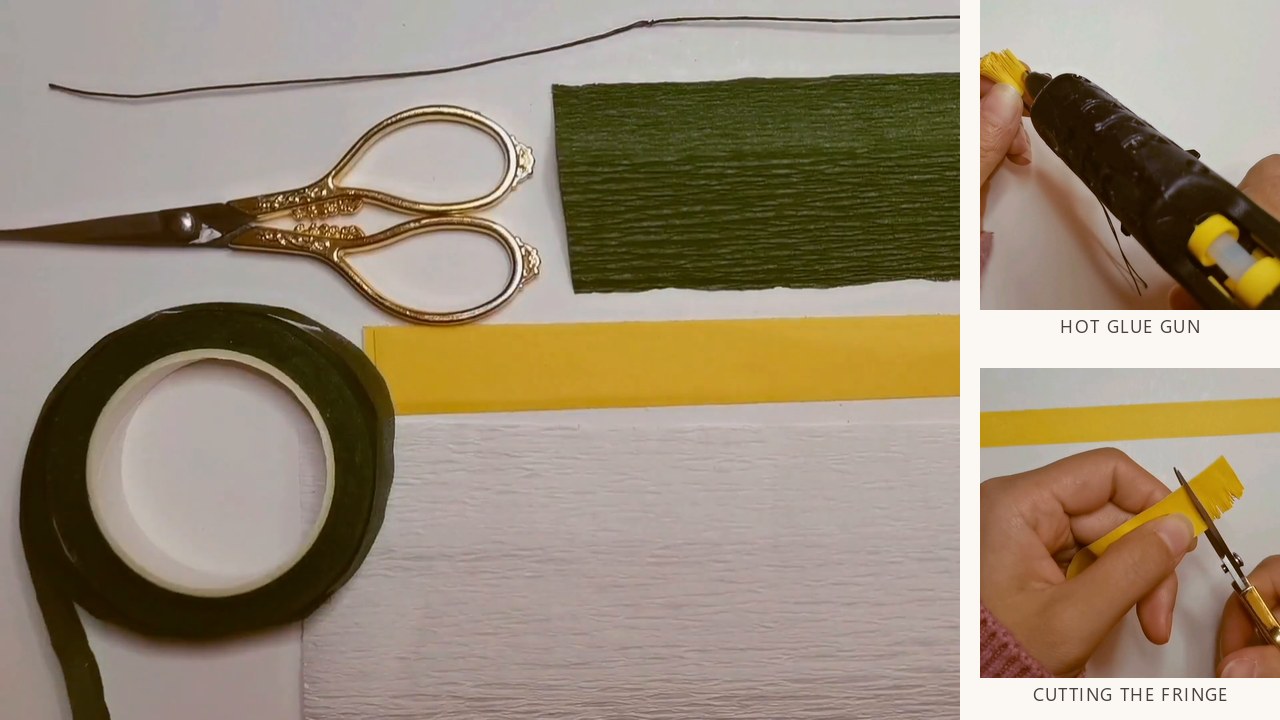
| Crepe paper | 90–140 gsm, white + yellow + green |
| Floral wire | 18–20 ga for the stem · 24–26 ga for leaves and petals |
| Floral tape | Dark green |
| Hot glue gun | Low-temperature — high heat scorches crepe |
| Small scissors | Sharp tips help on the fringe |
A cutting machine is optional, not required. The SVG files are there if you have one.
From PDF to table in an afternoon
Print at 100%
Open the A4 or Letter PDF and print at actual size with scaling turned off. The 100 mm calibration line on the page tells you in two seconds whether your printer obeyed.
Cut and shape
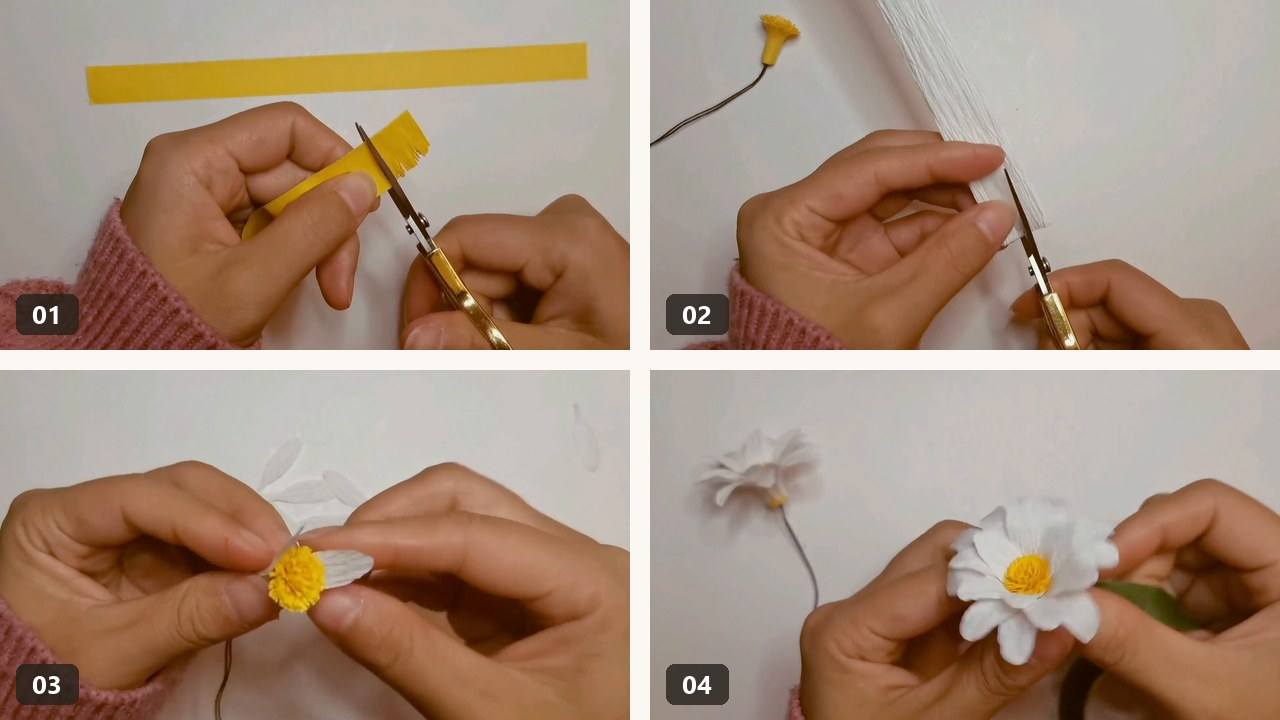
Cut a 20 × 250 mm strip of yellow crepe, fringe it and roll it into the centre. Then cut the petals and cup each one over a finger. The video shows the amount of curl that gives the daisy its shape.
Glue and finish
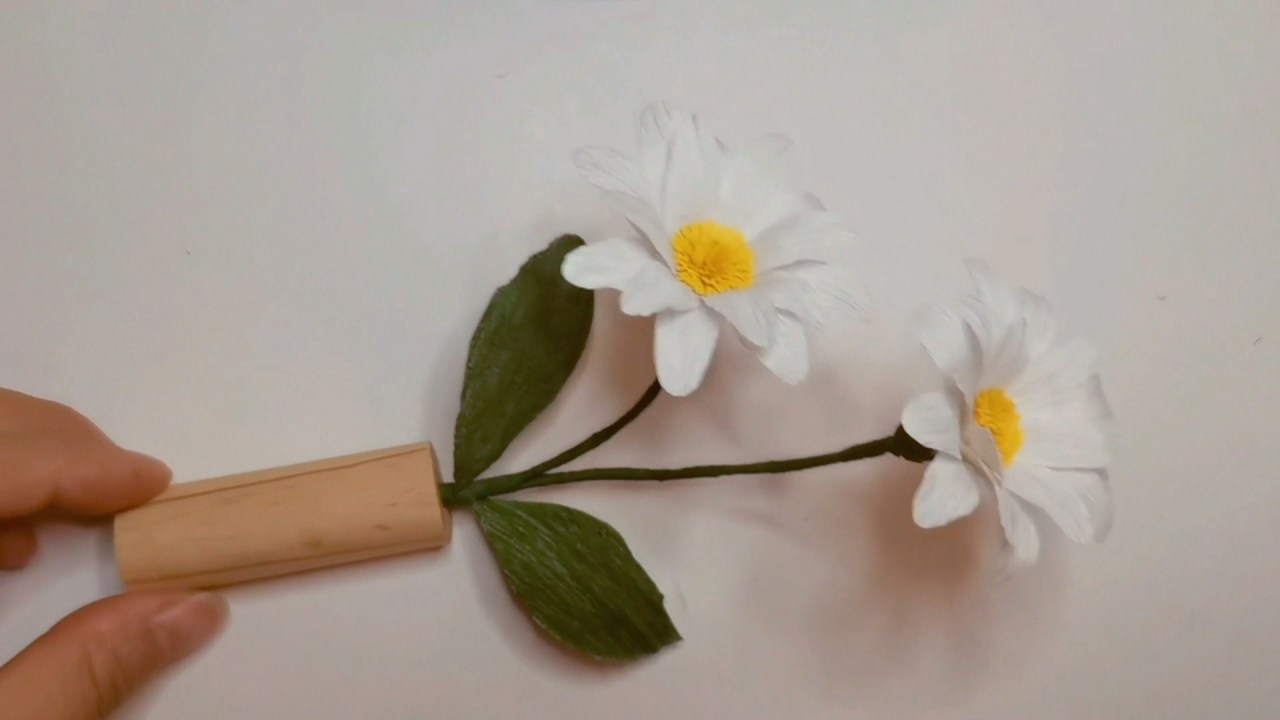
Petals go on in two overlapping rings around the rolled centre, then the leaves get taped onto the stem. Total working time is roughly 45–60 minutes for both flowers.
What you're allowed to do
Short version: make things and sell them. Just don't sell the files themselves.
Included with your purchase
- Print and cut the templates as many times as you like, for yourself or as gifts.
- Sell up to 500 finished physical flowers made from these templates — craft fairs, local shops, Etsy, wedding work.
- Use finished flowers in your own product photography and social posts.
- Photocopy the pattern for a workshop you teach, up to 15 students per session.
Not permitted
- Sharing, reselling or redistributing the PDF, SVG or video files — free or paid.
- Uploading the files to any clip-art, template, or file-sharing platform.
- Using the files to train or feed generative AI models.
- Mass production beyond 500 pieces — get in touch and we'll arrange an extended license.
Before you buy
Do I need a Cricut or Silhouette?
No. The original daisies were cut entirely by hand with scissors, and the video works through that method from start to finish. The SVG files are included for anyone who prefers a machine — but if you don't own one, you're not missing anything.
What paper should I use?
Italian crepe paper in the 90–140 gsm range is what gives the petals their stretch and their fine vertical grain. Heavier crepe (180 gsm and up) is too stiff to cup properly, and tissue paper tears at the petal base. The materials guide gives the weight range that works, how to check which way your crepe stretches before you cut, and what to change if your paper is heavier or softer than mine.
How long does it take to make one flower?
About 25–30 minutes once you've cut your first set of petals. The first one usually takes closer to 45, mostly because you're learning how much to curl. Budget an afternoon for the pair.
Is this a physical product?
No. It's a digital download — you'll get a download link the moment payment clears. Nothing ships. You print the pattern on your own printer or at a copy shop.
Can I sell what I make?
Yes — up to 500 finished flowers, no royalty owed. That covers craft fairs, market stalls and small online shops. If you're planning wedding-scale or retail volumes beyond that, an extended license is available.
What if the files won't open, or my printer scales the pattern?
Email everbloompaper2024@outlook.com and you'll get a reply within one business day. Nine times out of ten it's a "fit to page" setting, and there's a one-page fix you can try in the meantime.
What's your refund policy?
Because these are digital files delivered instantly, sales are final once the download link is issued — you're asked to confirm this at checkout. If a file is corrupted or won't open, you'll get a replacement or a full refund, whichever you prefer. Full details are in the Terms of Service.
Two daisies, one afternoon
Print it tonight, cut it tomorrow. The pattern is sized correctly — the rest is just paper and patience.
Get the template — $12.99